Wednesday, October 19, 2011

Ozymandias II


Several improvements on the previous version. A normal map and bump map have been added, the strand plants were replaced by splines, and the trees were adjusted.

Tuesday, October 18, 2011

Voyage to the Sky, 'Revised'


Ugh. This one was a real pain. Blenders' 2.59 render compositing system is broken. I tried a different approach, rendering three layers, then saving it as a high-quality jpeg. Next I added a world texture, using the jpeg as the bitmap. I then rendered the final layer.

The clouds... belch. That's what I get for using Blenders volumetric material.

Wednesday, October 12, 2011

Tripod


In 1898 the Martians visited Earth.

In 1968 we return the favor.

My interpretation of what a human-made fighting-machine would look like.

Waterfall, revamped

After a good deal of effort, I was finally able to revamp the Waterfall to my satisfaction. The new background was a major pain to get right, and the render node compost system decided to cease working. For the most part, at least hal of the thing was an exercise in frustration.

On the other hand, I did make use of a bunch of new techniques. Baking a shadow map for the ferns and creating an intensity map turned out rather well.

Wednesday, October 5, 2011

Normals


Working with normal maps for inorganic objects turned out to be less complicated then I imagined it to be. On the other hand, getting the normals to show correctly has been a real pain.

Monday, September 26, 2011

Another update

I've been working on updating more of my older works, and this and another piece. I would have posted it as well, but every time I try to render it, or even look at the material it uses, it crashes.

Saturday, September 17, 2011

Update, part duex

After struggling with insomnia, I managed to make several corrections to the scene, including the water, the sub-surface scattering, clouds, and lights.

Monday, September 12, 2011

Updates


After getting some feedback, I've updated two of my WC entries. The re-render of the Fire and Ice uses an enviromentat map to show the fires reflection, while the Strange Creature used several new lights, textures, and a normal map for the creature.

I'm not really sure if I like the camera angle or not.

Tuesday, July 12, 2011

Strange Creature


If you could touch the alien sand and hear the cries of strange birds, and watch them wheel in another sky, would that satisfy you? - First Doctor

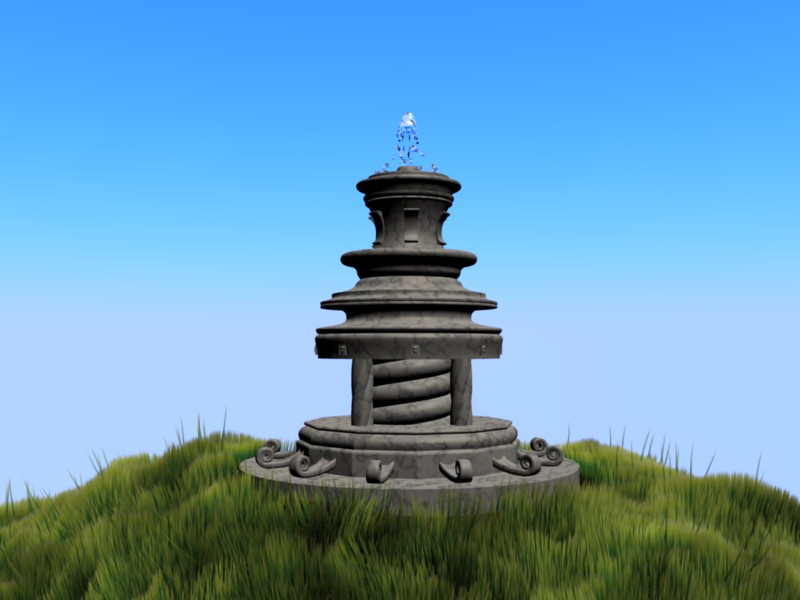
For this one, I wanted a amphibian or amphibious looking creature. The bitmap texture is actually gray-scale, color is added by a RGB texture node. The reeds uses a hair particle system while the ground is a sculpted multirez. The water may look like it uses a wave modifier, but Blender 2.49bs wave modifier doesn't allow for circular waves. I got around this by using a wood texture set to displace, then mapping it to an empty. The water also uses ray mirror and ray transparency.

Fire and Ice

The theme for this challenge was opposites, so i decided on a piece of burning ice. The flames used a standard particle system with the individual particles set to a halo texture. The texture itself was keyed to an ipo, allowing the flame particles to change color as they rose. Most of the water was modeled, except for the droplet hitting the surface.
Some thing didn't work out as well as I had hoped. The texture of the ice didn't show up very well though the coating of water, and the flame looks a bit unconvincing.

Kitchen

This was perhaps my most ambitious entry to the Weekend Challenge yet. Created using multiple objects, a ray mirror for the floor and pans, a particle system, soft body and alpha transparency for the curtain, and ambient occlusion to aid the lighting. I don't usually render at this resolution, but I wanted to show as much of the detail as possible.

The Fountain

This was created through use of Bézier curves and spin functions. The grass owes a lot to a tutorial I found at Blender Guru. The material textures for the stone were mapped an empty, I've found that empty mapping works very well when using multiple "instances" of an object, as I did for some of the parts of the fountain. The water was created through Blenders internal fluid simulator.

Blaster

A sort of sci-fi pistol with an enhancement add on. I was inspired to model it after reading the first part of Blender 3D 2.49 Incredible Machines.

Monday, April 25, 2011

Voyage to the Sky

Another challenge where I reused my model of Badurial. The fade out effect of the mountain could use some work.

Tuesday, April 19, 2011

A Better Mousetrap

Working with the ray mirror effect. By now I've pretty much gotten into the habit of mapping the textures on a wood material to an empty.

Sunday, March 6, 2011

Picture Perfect

I decided to have a go at modeling a camera, partly to refresh my inorganic modeling skills.

Monday, February 28, 2011

Point of View

My attempt at 'Escher' geometry. It turns out that Waterfall is deceptively complex, and it required me to duplicate the brick structure twice and make a few slices in the dups.

I suppose I should not have used an orthographic camera view, without it however, getting the textures to match up would have been nigh impossible.

Thursday, February 3, 2011

Thursday, January 20, 2011

Suzanne O' Lantern

Not, surprising, an entry for the Halloween Challenge, but the theme was Jack 'O Lantern and I thought Blenders Suzanne would make for an interesting 'face'. The sculpt tool was used to shape the pumpkin, while SubSurface Scattering was used with the materials.

Tuesday, January 4, 2011

Gallifrey

Trying to create a Time-War era version of Gallifery using material nodes.